Go Back
+ servings
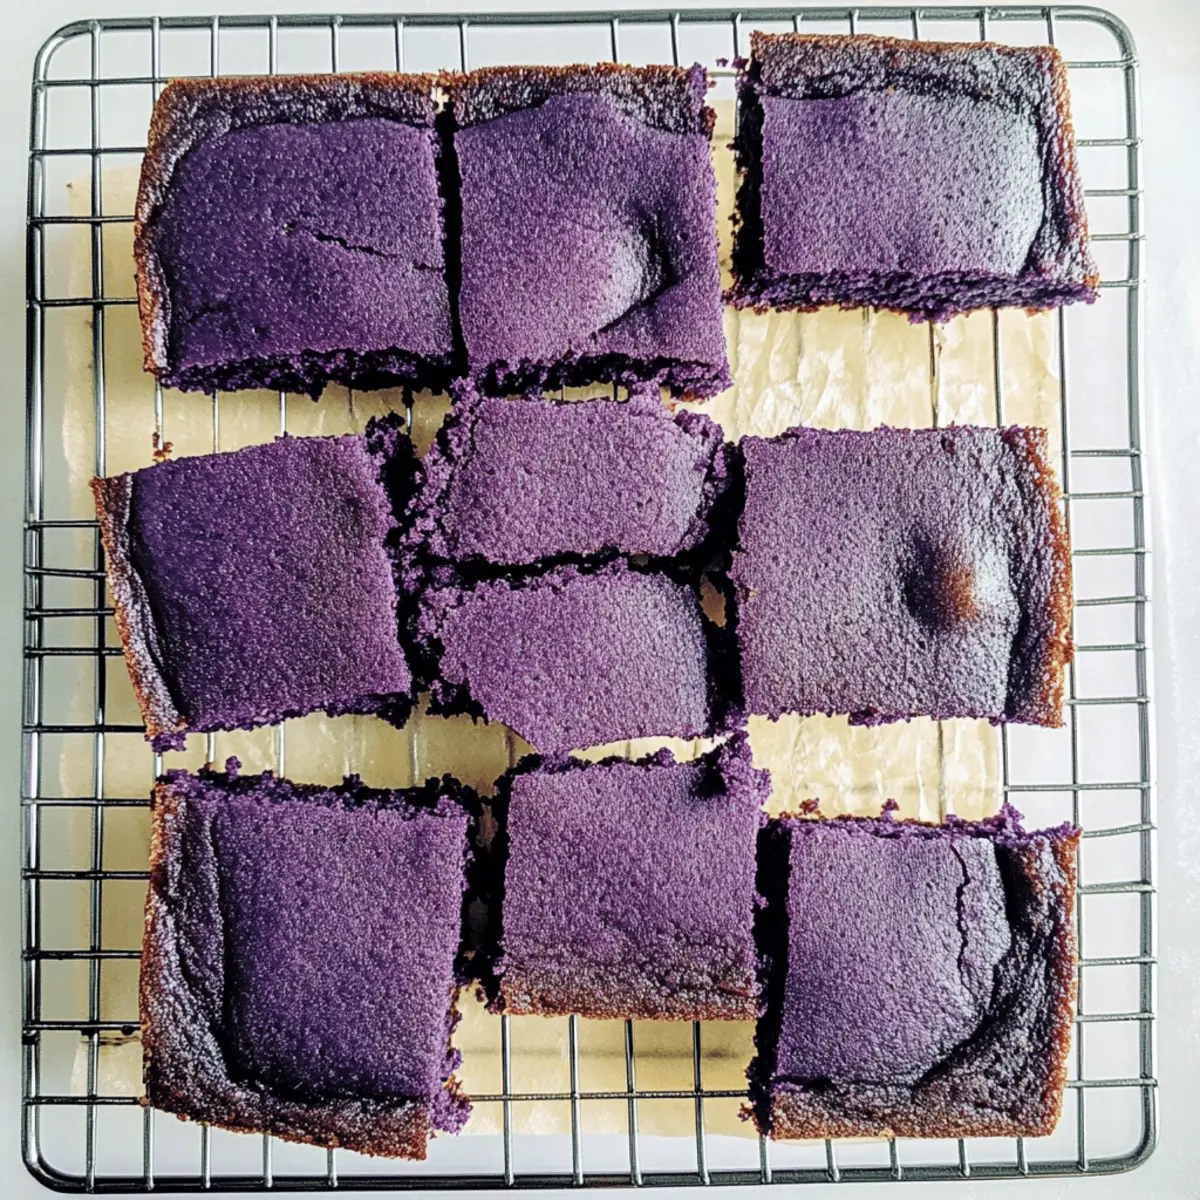
Ube Mochi Cake

Deliciously Chewy Ube Mochi Cake: A Quick Gluten-Free Treat

Enjoy this Ube Mochi Cake, a quick gluten-free treat with a delightful chewy texture and rich flavor.
Prep Time 10 minutes
Cook Time 50 minutes
Total Time 1 hour
Servings: 9 slices
Course: Dessert
Cuisine: Filipino
Calories: 200

Ingredients
  

For the Batter
  • 1 cup Mochiko Sweet Rice Flour Provides the signature chewy texture
  • 2 teaspoons Baking Powder Helps the cake rise
  • 1 pinch Kosher Salt Enhances sweetness
  • ½ cup Unsalted Butter Melted and slightly cooled
  • 1 cup Granulated Sugar Sweetens the cake
  • 3 large Eggs Room temperature
  • ½ cup Ube Halaya Jam Authentic ube flavor
  • 1 teaspoon Ube Extract McCormick recommended
  • 1 drop Purple Food Coloring Optional for color
  • ¾ cup Coconut Milk Shake well before using

Equipment

  • Oven
  • 8-inch square baking pan
  • Mixing bowls
  • Whisk
  • Spatula

Method
 

Step-by-Step Instructions for Ube Mochi Cake
  1. Preheat your oven to 350°F (175°C) and prepare an 8-inch square baking pan with cooking spray and parchment paper.
  2. In a small bowl, whisk together the mochiko sweet rice flour, baking powder, and kosher salt until no lumps remain.
  3. In a medium bowl, blend the melted butter and granulated sugar, then beat in the eggs one at a time before adding ube halaya jam, ube extract, and coconut milk.
  4. Gradually combine the dry mixture with the wet ingredients, stirring gently until just incorporated.
  5. Pour the batter into the prepared pan and bake for 48 to 50 minutes, or until a skewer comes out with a few moist crumbs.
  6. Allow the cake to cool completely in the pan on a wire rack before slicing and serving.

Nutrition

Serving: 1sliceCalories: 200kcalCarbohydrates: 30gProtein: 2gFat: 9gSaturated Fat: 5gMonounsaturated Fat: 4gCholesterol: 50mgSodium: 120mgPotassium: 50mgFiber: 1gSugar: 12gVitamin A: 100IUCalcium: 20mgIron: 0.5mg

Notes

For the best flavor, enjoy the Ube Mochi Cake the same day it's made, but it can be stored in an airtight container for up to 3 days.
Tried this recipe?

Let us know how it was!